Table of Contents Show
Popcorn ceilings once hailed for their textured appearance and sound-absorbing qualities, have gradually fallen out of favor in contemporary interior design. If you’re seeking to breathe new life into your living space by bidding farewell to the old-fashioned look of a popcorn ceiling, you’re in for a transformative journey. In this comprehensive guide, we’ll take you step by step through removing a popcorn ceiling, allowing you to usher in a modern aesthetic and create an inviting atmosphere within your home.
Preparation and Safety MeasuresPreparation and Safety Measures
Before delving into the task of popcorn ceiling removal, it’s crucial to prioritize safety and undertake thorough preparation. Equip yourself with appropriate protective gear, including goggles, masks, gloves, and proper clothing, to shield against potential debris and dust. Place drop cloths strategically across your floors and furniture to safeguard them from any mess that may arise during removal. Furthermore, ensure the electricity to the room is switched off, guaranteeing a safe environment while working around light fixtures and electrical components.
Test for AsbestosTest for Asbestos
For homes constructed before the late 1970s, asbestos in popcorn ceilings is a valid concern. Asbestos, a hazardous material, demands careful handling and specialized removal procedures. Before proceeding with removal, it’s essential to have a sample of the ceiling tested by a certified professional. In the event asbestos is detected, it is highly recommended to engage the services of an experienced asbestos removal contractor. This ensures proper, safe, regulated popcorn ceiling elimination while minimizing health risks.
Remove Furniture and CoveringsRemove Furniture and Coverings
Clear the room’s contents, including furniture and decorations, to create an unobstructed workspace. For more oversized items that cannot be conveniently moved, cover them diligently with plastic sheeting. This protective measure will shield your belongings from any potential dust and debris generated during the popcorn ceiling removal process.
Wetting the CeilingWetting the Ceiling
The key to a successful popcorn ceiling removal is softening the texture, making it easier to scrape. Utilize a garden sprayer or a spray bottle filled with water to wet the popcorn texture thoroughly. Allow the water to penetrate and saturate the surface for approximately 15 minutes. It’s essential to strike a balance – while adequate moisture aids in texture removal, excessive saturation may harm the underlying drywall.
Scraping the TextureScraping the Texture
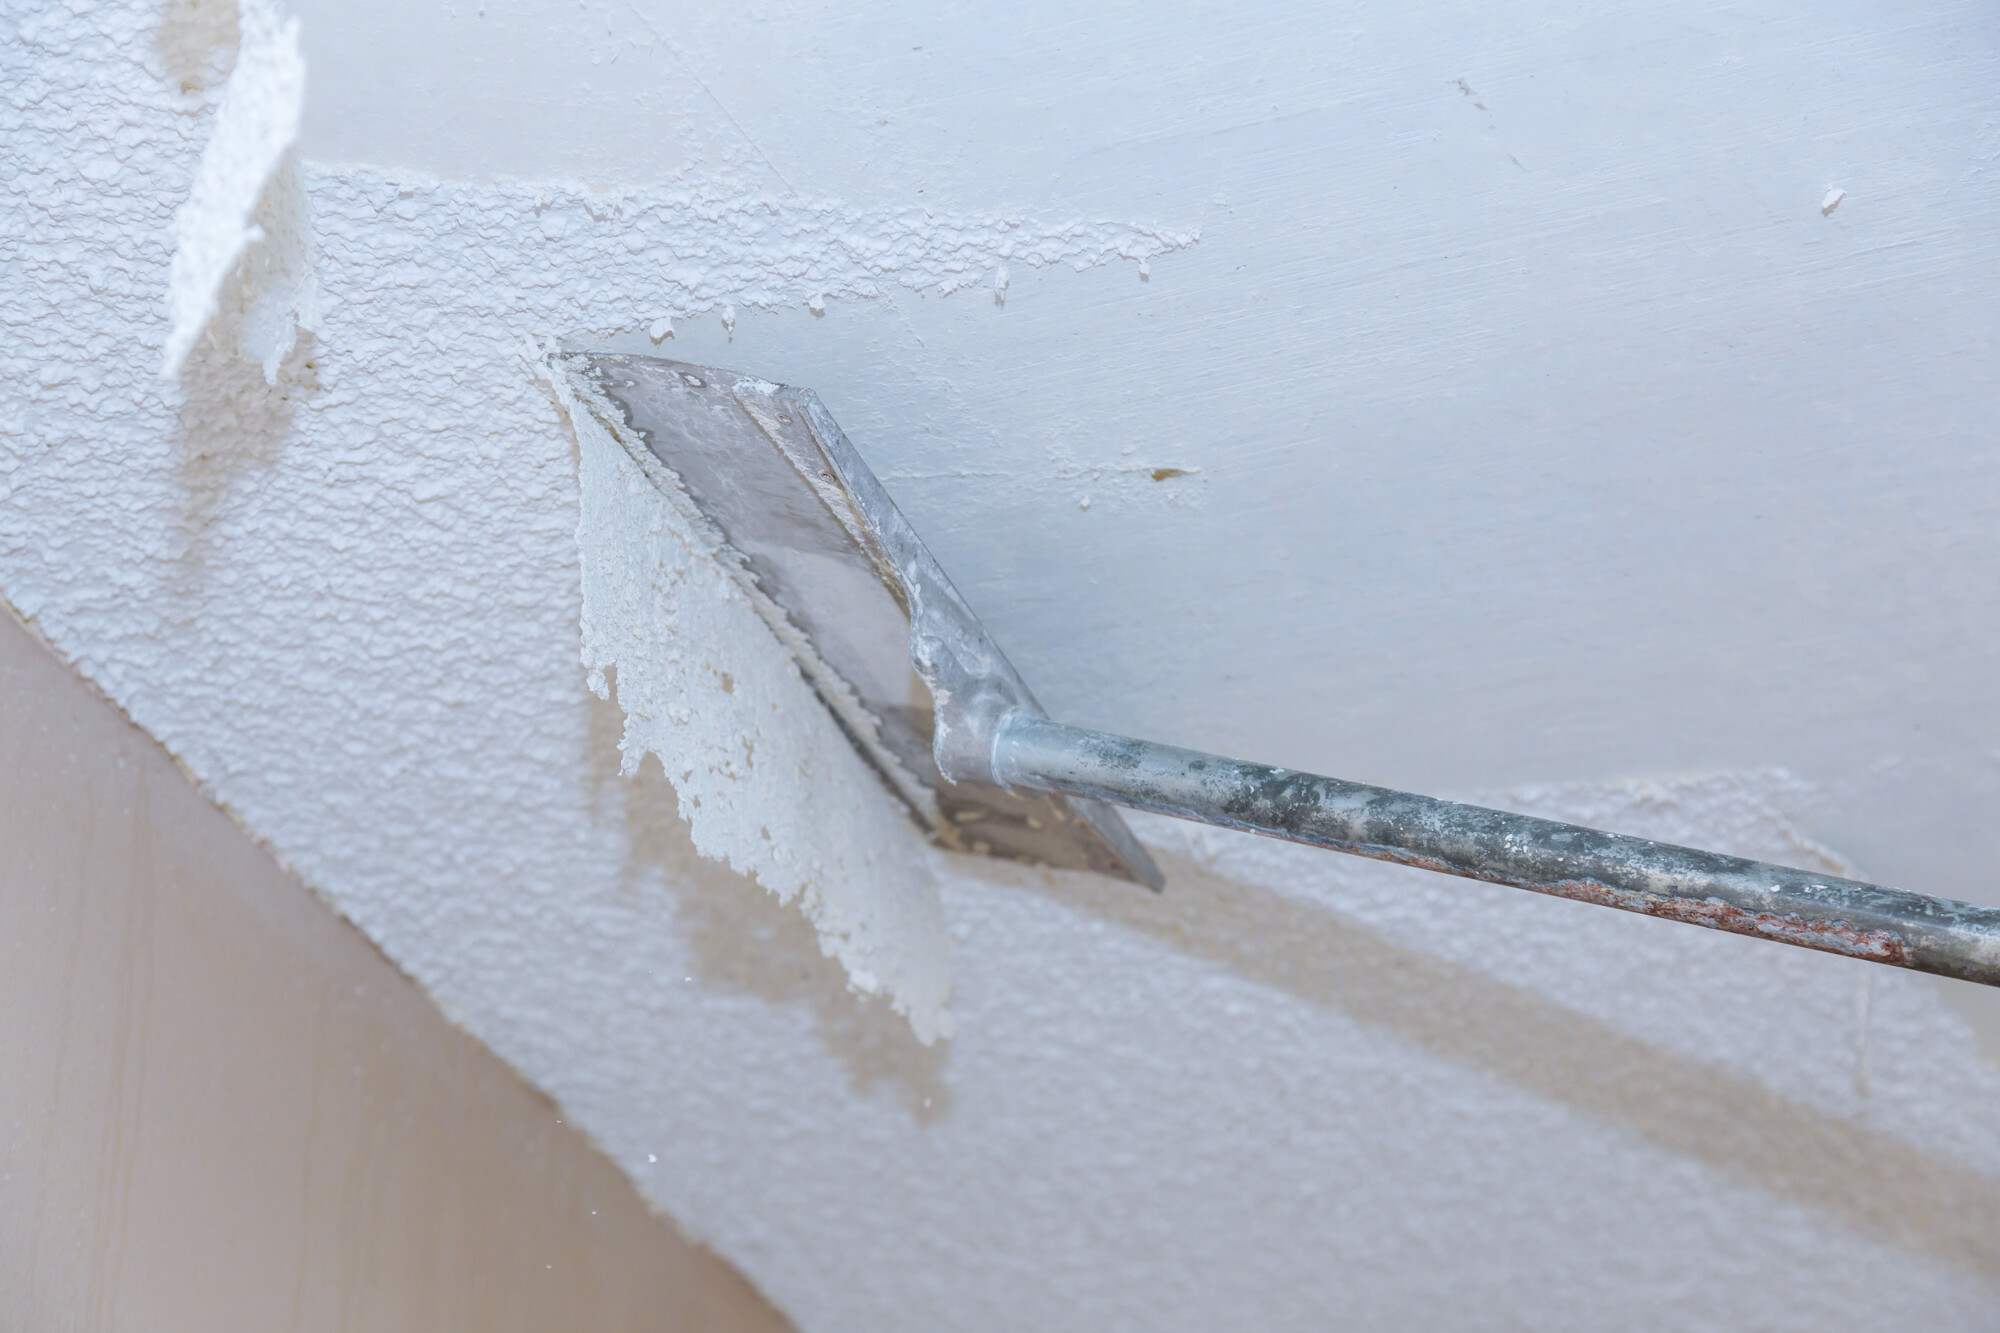
After the texture has been adequately softened through moisture, initiate the texture removal process. Gently and systematically remove the texture with a wide putty knife or a specialized popcorn ceiling scraper. Approach this step with patience and precision, working in manageable sections to avoid damaging the underlying drywall. Collect the scraped-off material in a designated plastic bag for easy disposal.
Repairing and SandingRepairing and Sanding
Upon successfully removing the popcorn texture, thoroughly inspect the underlying surface. Identify and address any imperfections, holes, or cracks present. Utilize joint compound to patch and repair these blemishes, allowing sufficient time for drying. Subsequently, embark on a sanding process to create a smooth, even surface primed for further treatment.
Priming and PaintingPriming and Painting
Before painting, apply a coat of primer to the repaired and sanded surface. This crucial step ensures proper paint adhesion and contributes to a consistent, high-quality finish. Once the primer has dried, you can infuse your personal style by selecting a paint color that resonates with your vision for the space. Opt for a flat or matte finish to effectively minimize the visibility of imperfections and create a seamless appearance.
Clean UpClean Up
As the final stages of the project approach, focus on thorough clean-up. Methodically cleanse the room, removing any residual debris and dust. Adhere to local regulations for the disposal of construction waste, appropriately discarding the collected material from the scraped-off popcorn texture.
Consider Professional HelpConsider Professional Help
While the prospect of a DIY popcorn ceiling removal project may be enticing, it’s essential to recognize the potential challenges and complexities involved. If uncertainty prevails regarding your ability to safely and effectively execute the removal, or if the presence of asbestos is confirmed, it’s advisable to engage the services of a seasoned professional contractor experienced in popcorn ceiling removal. Their expertise and specialized equipment ensure a seamless, successful process that prioritizes both aesthetics and safety.
Average Cost per Square FootAverage Cost per Square Foot
Understanding the potential costs associated with popcorn ceiling removal is a pivotal aspect of project planning. The expenditure can vary significantly based on factors such as the room’s size, geographical location, and the presence of asbestos. On average, homeowners can anticipate an expenditure ranging from $1 to $3 per square foot for removing popcorn ceilings. This estimate typically encompasses labor costs, essential materials, and disposal fees. However, it’s worth noting that if asbestos is identified, the complexity of the removal process may result in additional expenses.
Final ThoughtsFinal Thoughts
Embarking on removing a popcorn ceiling is a fulfilling home improvement endeavor that can wield transformative results. The process demands careful preparation, meticulous execution, and a commitment to safety. The reward, however, is a space that undergoes a remarkable visual overhaul, shedding its outdated appearance to unveil a fresh, modern ambiance. Whether you opt for a DIY approach or enlist professional assistance, removing a popcorn ceiling offers an opportunity to revitalize and elevate your living environment, creating a harmonious blend of aesthetics and comfort.

